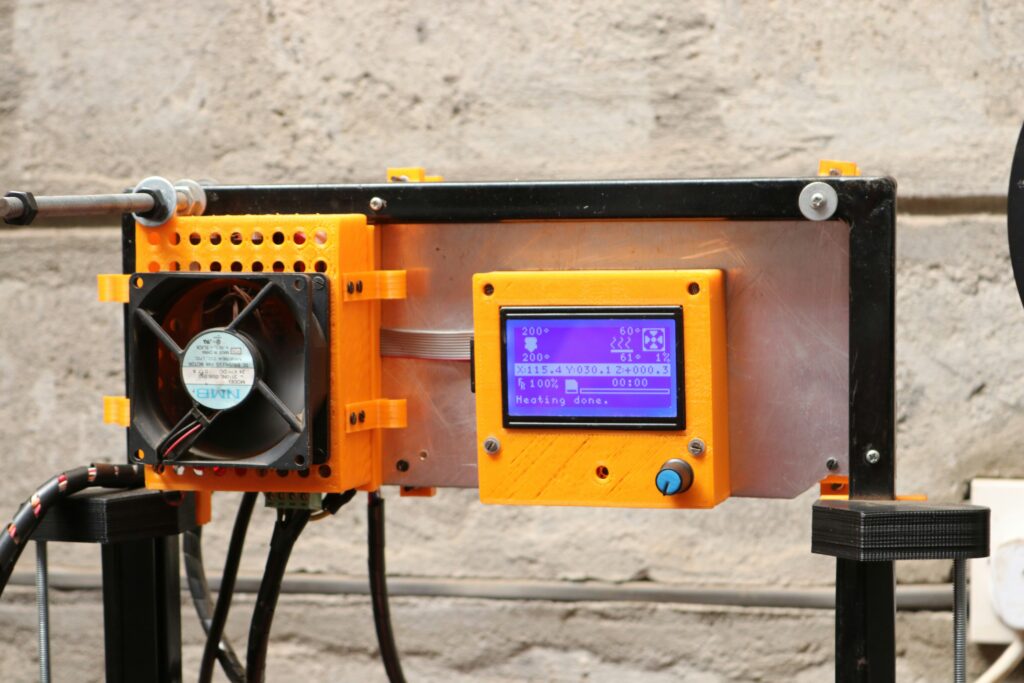
What is a Precision Opentimeter?
A precision opentimeter is a tool used to measure electrical resistance with high accuracy. It is commonly used in electronics, engineering, or maintenance to check circuits, troubleshoot issues, or ensure components meet specifications.
Safety Precautions
- Turn Off Power: Always disconnect power to the circuit/component before measuring.
- Wear Safety Gear: Use insulated gloves and goggles if working with high-voltage systems.
- Check for Damage: Do not use the device if wires, probes, or the screen are damaged.
- Avoid Moisture: Keep the device dry to prevent electrical hazards.
Parts of the Opentimeter
- Display Screen: Shows resistance values (in ohms, Ω).
- Rotary Dial: Selects measurement modes (e.g., Ω for resistance).
- Probes: Red (positive) and black (negative) wires for connecting to components.
- Input Jacks: Ports to plug in probes (common jacks: COM, VΩ).
Preparation Steps
- Insert Batteries: Open the battery compartment and install fresh batteries (if required).
- Connect Probes:
- Plug the black probe into the COM jack.
- Plug the red probe into the VΩ jack.
- Turn On the Device: Press the power button or rotate the dial to the Ω (resistance) setting.
- Test the Probes: Touch the probe tips together. The display should show 0 Ω (or a low value like 0.2 Ω). If not, clean the probes or replace them.
Step-by-Step Measurement Guide
1. Calibrate the Opentimeter
Calibration ensures accurate readings.
- Auto-Calibration: Some devices self-calibrate when turned on. Wait 10 seconds.
- Manual Calibration:
- Turn the dial to “Cal” mode.
- Short the probes (touch them together) and press the “Zero” button.
- The screen should display 0 Ω.
2. Set the Range
Choose the correct resistance range for your component.
- Auto-Ranging: Turn the dial to Ω. The device selects the range automatically.
- Manual Ranging: Turn the dial to a value higher than your expected resistance (e.g., 200 Ω for a 100 Ω resistor).
3. Measure Resistance
- Step 1: Disconnect the component from the circuit (to avoid false readings).
- Step 2: Touch the red probe to one end of the component and the black probe to the other end.
- Step 3: Hold the probes firmly in place until the reading stabilizes (2–3 seconds).
4. Interpret the Display
- Stable Number: This is your resistance value (e.g., “150” = 150 Ω).
- “OL” (Overload): The resistance is too high for the selected range. Choose a higher range.
- “0.00”: The component has no resistance (short circuit).
5. Turn Off the Device
- Rotate the dial to “Off” or press the power button.
Troubleshooting Common Issues
- Inconsistent Readings: Check probe connections or replace batteries.
- “OL” on All Ranges: The component may be faulty (open circuit).
- Screen Flickering: Low battery or loose probes.
Post-Use Care
- Disconnect Probes: Unplug them from the device.
- Store Properly: Coil probes neatly and keep the device in a dry case.
- Replace Batteries: If the low-battery icon appears.
How To Use a Precision Opentimeter: Short Summary
1. Safety Check
- Power off circuit.
- Wear safety gear.
2. Prepare the Device
- Insert batteries.
- Connect probes (black → COM, red → VΩ).
- Turn on.
3. Calibrate
- Auto-calibrate or press “Zero” with probes touching.
4. Set Range
- Auto-range Ω or manual range (e.g., 200 Ω).
5. Measure
- Disconnect component.
- Touch probes to ends.
- Read stable value.
6. Interpret Results
- Value = resistance.
- “OL” = increase range.
7. Power Off & Store
- Turn off.
- Disconnect probes.
- Store in case.
Key Tips
- Always measure resistors out of the circuit for accuracy.
- For small components (e.g., SMD resistors), use tweezers or alligator clips.
- Clean probes with rubbing alcohol if readings are unstable.
By following these steps, you can safely and accurately measure resistance with a precision opentimeter. Practice on known resistors (e.g., 100 Ω or 1k Ω) to build confidence.


